Quick Start
OpenScaler Computers are high-performance virtual machines that spin up in seconds. They’re versatile enough to handle almost any task; from sandbox experiments to production workloads.
Creating a Computer
Navigate to the Computer Creation Page
Head over to OpenScaler Platform and select "Computer" from the sidebar, then click on the "Create" button.
Choose a Region
Select a datacenter location for your VM (e.g., "Algiers"). Learn more in Regions.
Tip
Pick a region close to your target users for better performance.
Choose a VPC Network
Choose a VPC Network to connect your VM to.
Things to note
If you don't have a VPC network, a default one will be created for you
If you don't select a VPC network, your VM will be assigned to your default VPC network of the selected region
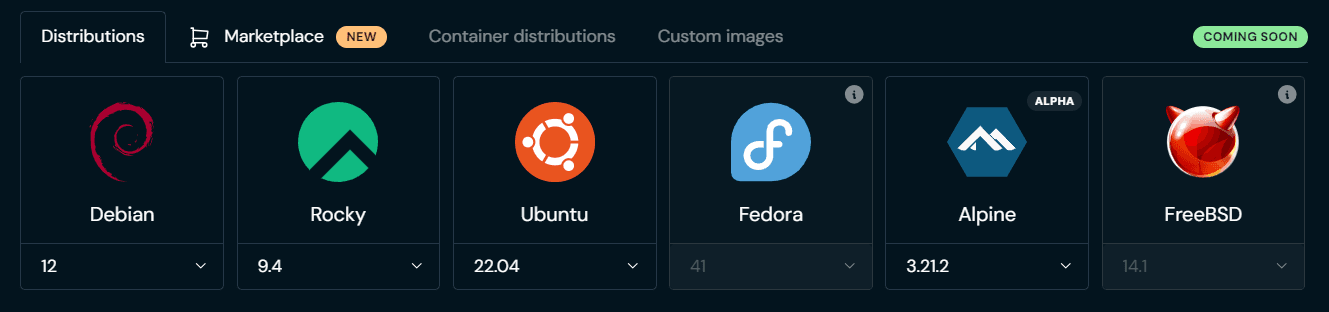
Choose an Operating System
Choose an operating system for your VM. We offer a variety of Linux distributions, including Ubuntu, Debian, and Rocky Linux, as well as 1-click applications like WordPress, Odoo and more ! (see Marketplace tab)
Choose Type and Size
Select a computer type and size that matches your workload requirements. Each option offers different combinations of CPU, RAM, and storage (as well as other factors). Keep in mind that your selection will affect the price of your VM. For detailed information, see Computer Types.
Name Your Computer
Give your computer a name. This will help you identify it in the future.
Note
As of 19 March 2025, this will also be used as the hostname of the computer, so it must be lowercase and contain only alphanumeric characters or hyphens.
Configure Authentication
Choose how you want to authenticate to your computer. You can choose between a password or a SSH key (or both). We recommend using a SSH key for authentication, as it is more secure.
Choose a strong password for your computer, this will be assigned to root
user.
Tip
For more security, change your password after first login since it's visible in cloud-init logs.
Finalize and Create
Check your summary, if all is set, hit the "Create" button. Your computer will should be up and ready right away!
Access Your Computer
Note
If you selected a Marketplace image, follow this guide to access your application.
Once your computer is created, navigate to the console tab and choose how you want to connect to your computer.

- If you configured an SSH key, you can connect using SSH command (paste command in machine where you copied public key from)
- TIP: You can use that same command to use VSCode Remote - SSH extension to connect to your computer.
Update your computer
Update your system
Once you have access to your computer, you should update your system before installing new packages: